October 09, 2026


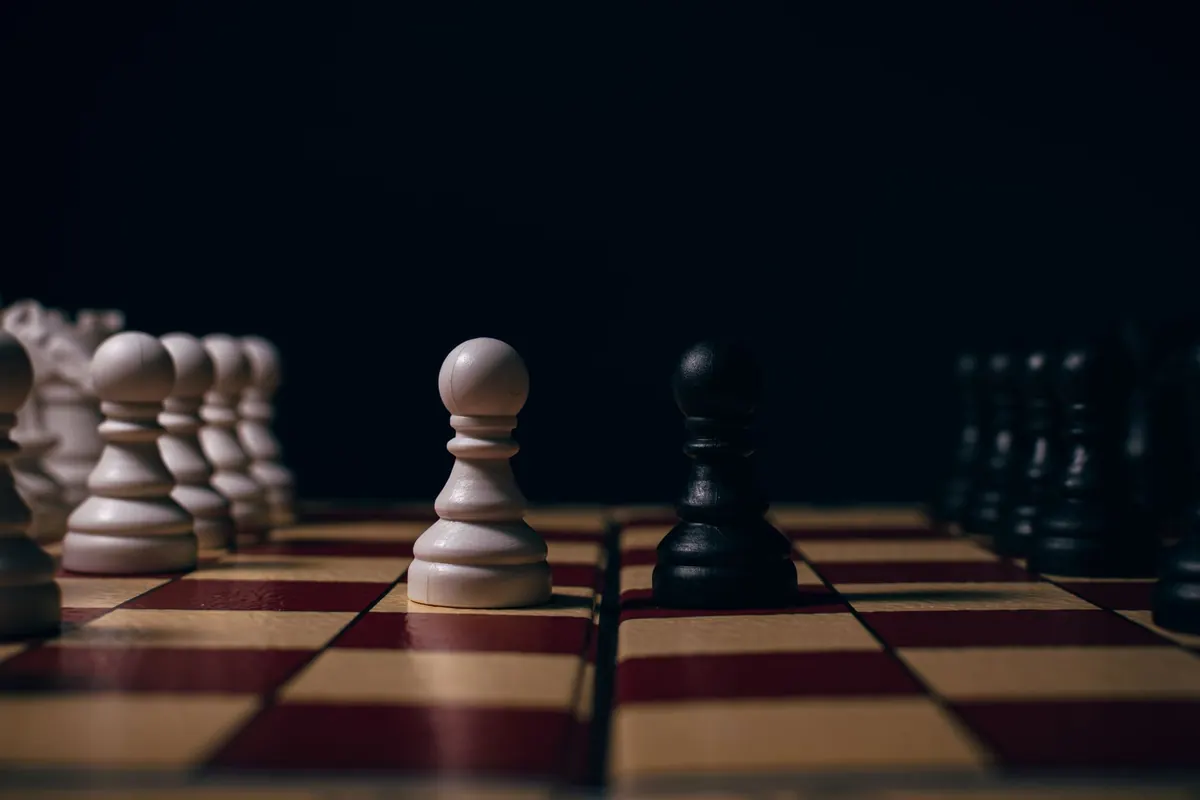
Every pawn move is permanent. A knight can retreat, a bishop can reroute, a queen can go almost anywhere, but a pawn that has stepped forward never steps back. That single rule explains why strong players spend so long studying pawns while beginners count material. The pawn structure is the skeleton of the position: it decides which squares belong to you, which pieces you want to keep, and whether you are steering towards an endgame or away from one.
Three weaknesses turn up in almost every game: the isolated pawn, the doubled pawn and the backward pawn. You do not need to memorise theory to handle them. You need to recognise them quickly, and know who the position is working for.
A pawn is weak when two things are true. It cannot be defended by another pawn, and an enemy piece can attack it, usually along a half-open file. Both conditions matter. A lone pawn that no one can reach is not a problem; a pawn that can be defended forever is not a target either.
Position matters more than labels. A weakness on the queenside, or on a file with no open lines, is often harmless. The same defect in the centre of the board can shape twenty moves. Before you build a plan around a pawn, check whether your pieces can actually get to it.
An isolated pawn has no friendly pawns on the files either side of it. The classic version is a white pawn on d4 after the c-pawn has been traded, as happens in the Queen's Gambit Exchange and the Tarrasch Defence.
Owning that pawn is not a punishment. You get more space, two half-open files for your rooks, and natural outposts on c5 and e5. The pawn on d4 controls c5 and e5, which makes those squares superb homes for knights and bishops. Games with an isolated d-pawn are usually sharp and full of initiative.
The trouble arrives when the position simplifies. The pawn cannot be defended by a colleague, so pieces have to do the job, and the square directly in front of it becomes a magnet for the opponent's knight. If you own the pawn, the plan is simple: keep pieces on, keep the pawn mobile, and play for a kingside attack or the d4-d5 break while your extra space still counts.
Doubled pawns sit on the same file. They appear after captures towards the centre, such as 4.Bxc6 dxc6 in the Ruy Lopez Exchange, where Black takes back with the d-pawn and ends up with pawns on c6 and c7.
What does that cost? Two things. The pair cannot create a passed pawn on that file, and the square in front of the leading pawn can become a hole. Black's c6 pawn, for example, no longer has a neighbour on the d-file to guard d5.
What does it buy? Rooks get a half-open file, and the extra pawn on c6 controls b5 and d5. In the Exchange Ruy Lopez, Black also gains the bishop pair and reasonable central play, which is why many players are happy to take that structure on. Doubled pawns are rarely fatal. They are a trade: structure for activity.
When you attack doubled pawns, work the half-open file. Put rooks on it, force knights and bishops to babysit, and aim for an endgame where the pawns become targets that cannot run. When you defend them, keep pieces active and look for a freeing advance that removes the cramp.
A backward pawn has fallen behind its neighbours on the adjacent files, sits on a half-open file, and cannot safely advance because the square in front is controlled by enemy pieces. The d6 pawn in the Sicilian is the standard example: Black's e-pawn has advanced to e5, the c-pawn sits on c7, and once White's d-pawn disappears in the cxd4 exchange, the file opens for a white rook.
That d6 pawn is not simply bad. It holds the centre together and controls c5 and e5, which is exactly why Black tolerates it. But d5 in front of it becomes a permanent outpost, and every trade that reduces the board makes the pawn more of a burden.
Attacking pawns is rarely about launching a raid. It is about tightening a grip over several moves.
The arithmetic is simple: one attacker against one defender achieves nothing. You want more attackers than defenders, or defenders that would clearly be better employed elsewhere.
Sometimes the pawn is worth it. Ask three questions before you decide.
If you are the one carrying the weakness, avoid unnecessary trades. Every exchange brings the endgame closer, and the endgame is where the pawn is pure liability. Seek activity, create threats, and give your opponent something else to think about.
After every round of exchanges, take ten seconds to look at the pawns before you look at the pieces. Name the structure out loud, even if only in your head. Identify any pawn that cannot be defended by another pawn, note the file it sits on and whether that file is open. Count attackers and defenders. Then decide who benefits from trades, and steer accordingly.
That habit will not turn every weakness into a win. What it will do is stop you drifting. Once you can see which pawn is weak, you know whether to attack, blockade or simply keep the pieces on, and that is most of what long-term planning in chess really is.
Photo: Nicolás Langellotti / Pexels
Chess strategy and tactics for your desk.
Copyright © 2026 Rook Desk. All rights reserved. Rook Desk.